Incredibly Average Canyon
| Rating: | |||||||||||||||||||||||||||||||
|---|---|---|---|---|---|---|---|---|---|---|---|---|---|---|---|---|---|---|---|---|---|---|---|---|---|---|---|---|---|---|---|
| | Difficulty:3B III PG (v4a2 III) Raps:8-10, max ↨80ft
Red Tape: Shuttle:None Vehicle:4WD - High Clearance | ||||||||||||||||||||||||||||||
| Start: | |||||||||||||||||||||||||||||||
| Parking: | |||||||||||||||||||||||||||||||
| Condition Reports: | |||||||||||||||||||||||||||||||
| Best season: | Winter to Spring
|
||||||||||||||||||||||||||||||
| Regions: | |||||||||||||||||||||||||||||||
Introduction
Approach
From Red Mountain Campground, proceed down the jeep road to the 4WD parking point. Without a 4WD, high clearance vehicle, expect to add 1.25 miles and ~500 feet of vertical to the approach.
Park at the end of the road. Hike down either the obvious trail or save a little time and go directly down the mountain until you hit the obvious, wide trail. Continue on the trail until you meet the creek and head downstream a few hundred feet until you meet the first rappel.
Descent
No permanent anchors were left after the first descent, as most rappels had good options for ghosting.
The lengths below are approximate, and depend on the anchors used.
R1: ~30ft drop. Large rock, can be downclimbed DCR.
R2: ~35ft drop. Large rock protrusion by the edge DCR. Rap can be placed in the flow by redirecting over a small rock protrusion in the middle of the drop. This also helps keep the fiddlestick away from rocks.
R3: ~20ft drop. Large rock in the flow about 15ft from the edge.
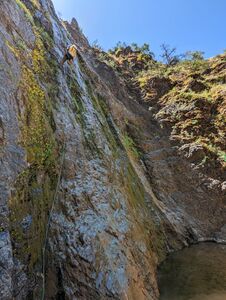
R4: ~80ft drop. Large rock about 30ft from the edge. 100ft rope is probably not enough for this drop.
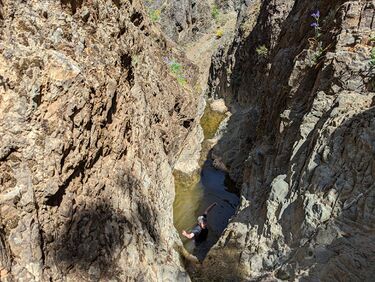
Here you will find a short narrow section with a couple downclimbs and potential jumps that would certainly turn into spicy swiftwater in higher flows.
R5: ~30ft drop. We found that the rope would be likely to get stuck around the half-submerged boulder near the drop, so we climbed back up the last downclimb and anchored to a rock around there, making the rope about 60ft long.
R6: ~50ft long, low angle. Might be possible to downclimb or bypass.
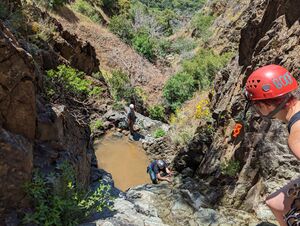
Here you will find another section of small pools and optional jumps/slides followed by a nasty downclimb on extremely crumbly rock. There is not much to anchor to for this downclimb - consider having a meat anchor for those less confident in downclimbing, or building a cairn anchor with rocks from above if needed.
R7: ~30ft drop immediately after the nasty downclimb. We used a half submerged rock on the LDC side of the pool.
R8: ~35ft drop from a small rock just on the edge of the drop LDC. Certainly not the most confidence-inspiring anchor, but it was fairly well wedged in between other rocks.
R9: ~35ft from a rock near the edge.
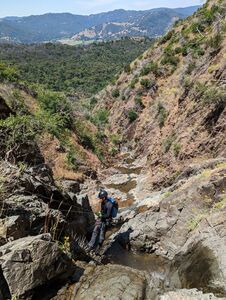
At this point the canyon starts getting overgrown with vegetation. After a couple easy downclimbs through some vegetation you will have reached the bottom.
Exit
Shortly after the last rappel, look for a flat enough section to begin the exit LDC. Hike up off-trail approximately 300' vert until you reach the ridgeline (KML in this section is approximate). Turn left and continue along the ridgeline for another 300' vert. The topo will flatten out and you should be able to see the extension of the trail you came in on. Continue to bushwhack through it until you reach the trail. Turn left and follow the trail you came in on back out.


