Owl Canyon (Lemhi Range)
| Rating: | |||||||||||||||||||||||||||||||
|---|---|---|---|---|---|---|---|---|---|---|---|---|---|---|---|---|---|---|---|---|---|---|---|---|---|---|---|---|---|---|---|
| | Difficulty:3A I (v3a1 II) Raps:2+, max ↨100ft
Red Tape:No permit required Shuttle:None Vehicle:High Clearance Rock type:Limestone | ||||||||||||||||||||||||||||||
| Start: | |||||||||||||||||||||||||||||||
| Parking: | |||||||||||||||||||||||||||||||
| Condition Reports: | |||||||||||||||||||||||||||||||
| Best season: | Jul-Sep (avg for this region)
|
||||||||||||||||||||||||||||||
| Regions: | |||||||||||||||||||||||||||||||
Introduction[edit]
Owl Canyon is a technical canyon located in the Black Canyon II Wilderness Area, in the southern tip of the Lemhi Range. The canyon is filled with a decent but manageable amount of brush, but the many down climbs and rappels makes this canyon worth checking out.
Approach[edit]
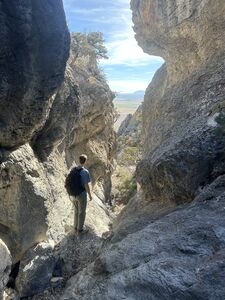
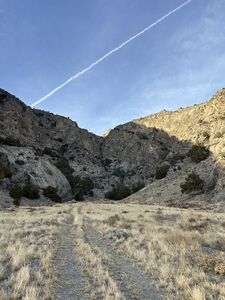
Park at the location labeled on the map, then hike up the canyon until you reach a slotted section. The short slot section contains two scrambles both being somewhat exposed but manageable (alternatively it may be possible to avoid this by going to the left of the slot section). Once you are at the top of the slot section head up canyon until it curves right and you are past the cliffs on the left. Then head left up the hill and continue going in the same direction until you reach the edge of a canyon. Head slightly right down into the canyon (it's important to make sure you are above the start of the canyon, so you don't get cliffed out). Once in the bottom, head down canyon until you reach the start of the technical section.
Descent[edit]
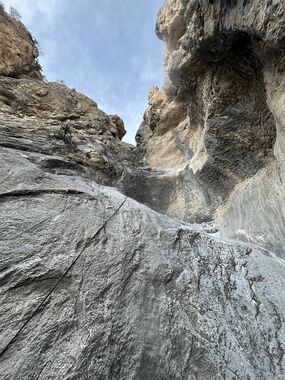
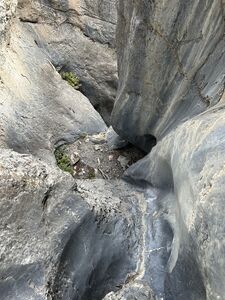
Once you reach the start of the technical portion, you will encounter 2 optional rappels. There are plenty of anchor opportunities for both rappels, but these can be downclimbed by keeping right of the rappel (some groups may feel more comfortable just rappelling down one or both of the rappels). Continue down canyon, scrambling down some small downclimbs until you reach the next rappel. This rappel is roughly 100ft, with plenty of great opportunities for anchors up above it. Be careful if rappelling single strand, because this rappel has multiple ledges and curves to the right which can cause the pull cord to get caught while throwing or pulling. Near the base of the of the rappel there is a pothole that has filled in creating a decent sized platform. This can be used to pull and store the rope easier, but you will have to downclimb the final section of the rappel. After this there are two more downclimbs before you reach the final rappel, the rappel is in the middle of the narrow section below the final downclimb. After the rappel continue heading down canyon until you reach a faint 4x4 trail.
Exit[edit]
Once you reach the 4x4 trail, follow it until you reach a T with a more defined trail. At the T take a left and follow this trail all the way back to your car.
Red tape[edit]
Located within a wilderness study area with a ban on permanent climbing anchors.
Beta sites[edit]
https://www.blm.gov/visit/black-canyon-ii-wilderness-study-area


