Bear Creek Canyon
| Rating: | |||||||||||||||||||||||||||||||
|---|---|---|---|---|---|---|---|---|---|---|---|---|---|---|---|---|---|---|---|---|---|---|---|---|---|---|---|---|---|---|---|
| | Raps:9, max ↨65ft
Red Tape:No permit required Shuttle:None Vehicle:Passenger Rock type:quartize | ||||||||||||||||||||||||||||||
| Location: | |||||||||||||||||||||||||||||||
| Condition Reports: | 31 Aug 2025
"Amazing canyon! Water was low enough that the rappel path avoids most of the water for most rappels. Few of the anchors were hard to reach but was sol |
||||||||||||||||||||||||||||||
| Best season: | July-October
|
||||||||||||||||||||||||||||||
| Regions: | |||||||||||||||||||||||||||||||
Introduction
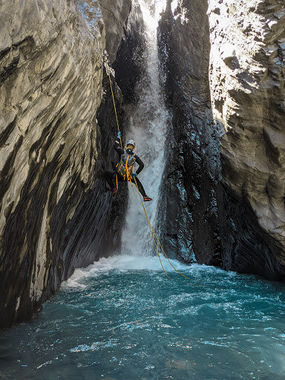
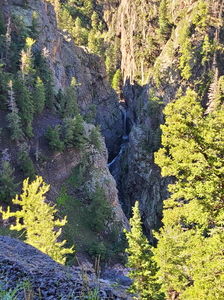
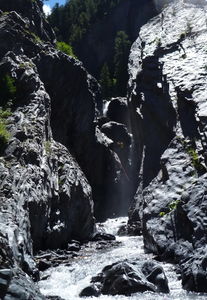
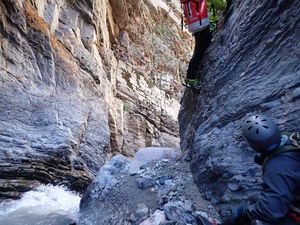
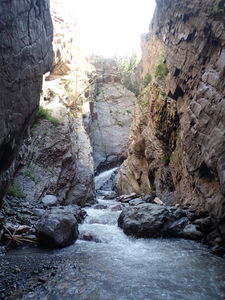
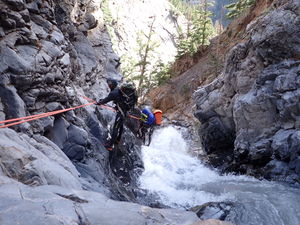
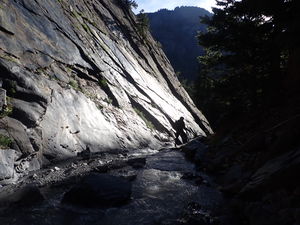
This is one of the best canyons in Ouray. Scenic narrows, abundant water, challenging rappels, this canyon has a bit of everything. The rock flour from this geologic layer adds a great blue tint to the water.
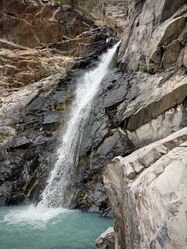
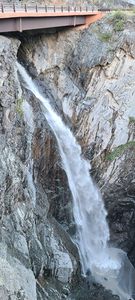
Assess the water flow at: Lower Bear Creek Falls from the pullout below the bridge, looking upstream from the Hwy 550 bridge into the canyon and at the first rappel.
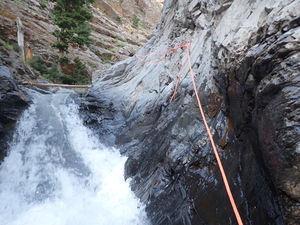
Beware that some of the anchors are difficult to reach. R1, R3 and R5 all require a bit of stretch.
Note that R9, the final rappel, requires knowing how to rig a retrievable traverse line and that the final anchor is around the corner to the left.
This is not an R canyon. If the first rappel has too much water for the team's skill level, exit the canyon.
Approach
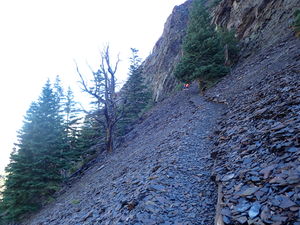
From the signed Bear Creek Trailhead just west of the tunnel over Highway 550, hike the trail as it climbs up and over the tunnel.
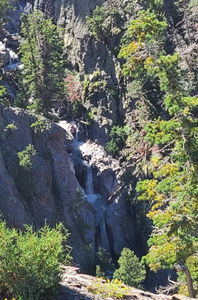
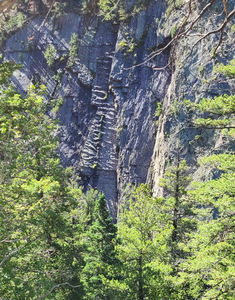
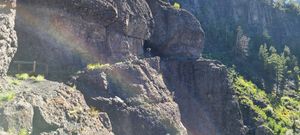
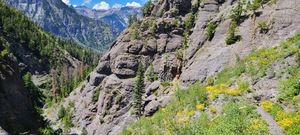
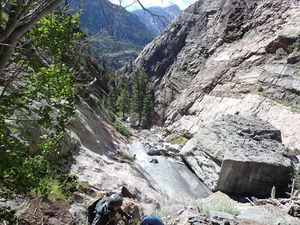
The trail rises steeply at first on several switchbacks in a shale layer. At the apex of some of the final switchbacks, R6 & R7 La Cappella can be seen far below. A little ways further, R3 and R4 can been seen at the end of the Quartzite Corridor.
Higher up canyon, look for two rock cuts that were part of building this National Scenic Trail long ago. A bridge is in the gully between these two landmarks. Pass a flowing tributary shortly after and depart the trail at the next non-flowing gully a hundred feet up trail, 1.85 miles from the trailhead.
This shorter path down with one short downclimb to enter Bear Creek can be done entirely on rocks and hard surfaces to prevent erosion and is the preferred route to access Bear Creek. The first Ouray Canyoning Guidebook editions detailed hiking the Bear Creek Trail to the Grizzly Mine, which does provide a minimal impact approach to Bear Creek, but adds another hour to get to the first rappel.
Descent
In high water, the descent can require advanced rope techniques.
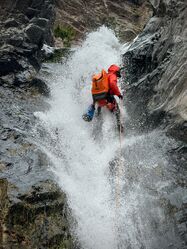
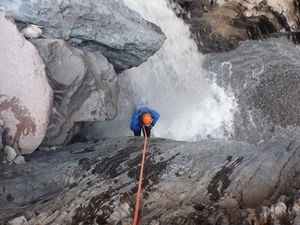
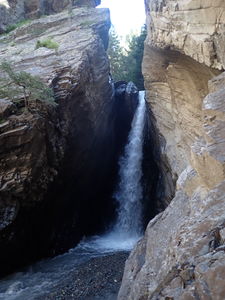
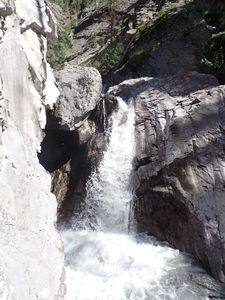
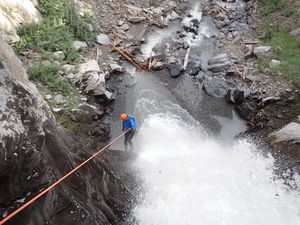
With current anchors, La Cappella is the crux as all the flow is consolidated in that pour spout. The final rappel also consolidates the flow, but the traverse line positions rappelers at the edge of the flow.
R1: 35' from bolts DCL, which are a bit of a reach. Consider clipping into the bolt station and handing the rope back to other teammates.
R2: 40' from bolts DCR, using a rock pinch to create a retrievable traverse line
DCs: a section follows R2 of small pools and DCs. An escape DCR has been noted, but not verified.
The Quartzite Cooridor
R3: 45' from bolts high up DCR in the more solid rock. Belay a partner when clipping the bolts. The previous anchor was a large tree DCL, for an 80' rappel rope length.
R4: 30' from bolts DCR just after R3. This drop has historically been downclimbed DCL, but don't miss the chance to rig another rope in the flow.
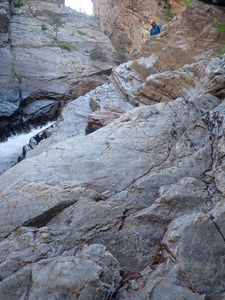
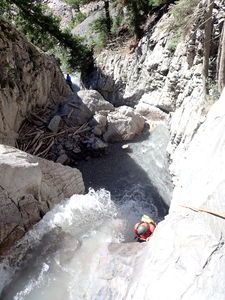
R5: 65' from bolts DCL, which are also a bit of a reach. Consider clipping into the bolt station and handing the rope back to other teammates. This anchor provides a nice rappel line with a little pothole instead of downclimbing the large boulder field DCR.
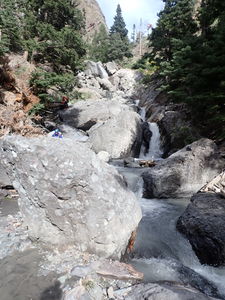
Streamwalk and downclimb a ways until the La Capella sequence.
R6: 45' from a tree DCL set back to rappel in the short waterfall. Many people downclimb this on DCL.
R7: 35' from bolts on the wall DCR next to the falls into the pool below.
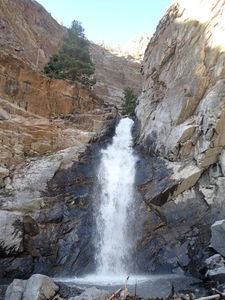
La Capella Falls (the crux of the canyon)
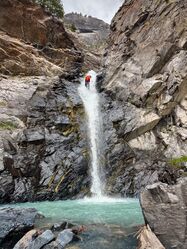
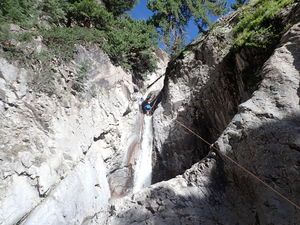
R8: 65' from bolts high up above the pool on a ledge DCL. This angle makes an easier lip transition for the falls themselves. There are typically several slung boulders in the back of the pool.
The pool above the falls changes from year to year from being ankle deep, waist deep or a full swimmer.
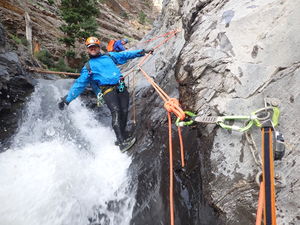
R9: 60' after a traverse line with a midpoint of 35'. The final anchor bolts are around the corner DCL!
Retrievable Traverse Lines (MC)
R9, the last rappel is a great opportunity to gain experience setting a retrievable traverse line (MC). In French, Main Courante (MC) means "hand rail" and MC will be noted in all the canyon profiles in the guide book.
See pages 36-37 in the Canyoning in the Colorado San Juan Mountains guidebook for more details and a list of other Traverse Lines or rebelay opportunities in the area.
Seek appropriate canyon training from established companies. Practice this sequence several times not in a canyon before attempting this in a canyon.
To set up this type of retrievable traverse line with a mid point, such as the last rappel in Ouray's Bear Creek:
- The first bolts for a Traverse Line with be 90 degrees offset from each other. With Glue Ins this is obvious to indicate something is going on. With expansion bolts and ring anchors, it is a subtlety to look for.
- Start with the rope stuffed into a rope bag.
- Feed the free end of the rope through the Traverse Line ring bolts, pulling enough out to reach the rappel anchor below with some margin. Throw this down stream to verify and leave it there.
- Have a partner block the side just thrown down and rappel on the line feeding out of the rope bag toward the anchor below. It can be helpful to use one of the two safety tethers clipped through the free thrown line so it remains within reach.
- Pause at the single mid point bolt. Attach a spare carabiner to the anchor and clip the weighted rappel line into this as a directional. Feed the loose line through the rapid link or glue-in style bolt directly (not pinched by the carabiner and not through a bent metal sport climbing style hanger).
- Continue rappelling to the Rappel Anchor, which is two ring bolts around the corner on Canyon Left at the top of the R8 waterfall with a clear line of sight to the bottom. Attach a Master Carabiner and connect to this with a safety tether.
- Tie a figure 8 on a bight in the free line, which had been fed through the mid point anchor (blocked side). Use another carabiner to fix the figure 8 loop to the Master Carabiner, leave it unlocked.
- Bodyweight is now on the safety tether at the Rappel Anchor. Come off rappel on the line blocked at the Traverse Line anchor. Both lines feed through the mid point anchor to the Traverse Line anchor upstream (one through the unlocked carabiner, one through the rapide or glue-in style bolt, but not through a bent metal style sport climbing hanger.)
- Have your partner remove the block at the traverse line anchor.
- Pull the slack out of the system. Tie another figure 8 on a bight in a position to provide sufficient tension, clip this to the same carabiner as the other figure 8 on a bight. Retie if tension is not right.
- The retrievable Traverse Line is complete and secured on both ends. Remain at the station to direct traffic and call over the first person, who will need to pass the mid point attachment and use two safety tethers to remain clipped at all times to the Traverse Line.
- Set up the Rappel Line through the ring bolts at the Rappel Station. A double-ended rope bag makes the rope management significantly easier by using the free end from the other part of the bag.
- Dance around each other at the station, sending the first rappeller on rappel and call over the next person on the Traverse Line. Repeat to the last person.
- When the last person comes through the Traverse Line, they retrieve the carabiners at the mid points. They remain attached because one line runs through the anchor itself (rapide or glue-in). Tension and traverse line placement are key here for how much slack becomes introduced to the system. A more skilled teammate should be going last.
- When the last person is on rappel, unclip and untie the figure 8s for the Traverse Line and pull the rope through the system.
- Someone left an old non-locking carabiner at the mid station traverse line bolt on this last rappel in Bear. Leave it there. This was a courtesy, makes setting up the traverse easier and there's no reason to remove it.
- Stuff the traverse line back into the rope bag. Rope management in aquatic canyons is key to safety.
- Get on rappel, lock off and clean up the station, then rappel to the bottom.
Setting up systems like this, used across the world including the teams equipping new canyons in the more aquatic Pacific Northwest, increases safety by avoiding water hazards and allowing the person at the station to keep eyes on rappellers in the waterfall.
Again, this is not official advice and proper training needs to be sought. However, we need to communicate the complexity of setting up a system like this and right here in the online beta is the best place to get the message out.
Hope this helps! -Ira Lewis
Exit
Before reaching the highway, exit on Canyon Left.
Red tape
Beta sites
- Current Water Level Assessment from Canyoning Colorado: https://canyoningcolorado.com/canyon-reports
 HikeArizona.com : Bear Creek Canyon - Ouray
 Super Amazing Map : Bear Creek Canyon
Trip reports and media
 Candition.com : Quartzite Corridor
