Stevenson Creek (Lower)
| Rating: | |||||||||||||||||||||||||||||||
|---|---|---|---|---|---|---|---|---|---|---|---|---|---|---|---|---|---|---|---|---|---|---|---|---|---|---|---|---|---|---|---|
| | Raps:12-13, max ↨200ft
Red Tape:No permit required Shuttle:Optional 45 min Vehicle:Passenger | ||||||||||||||||||||||||||||||
| Start: | |||||||||||||||||||||||||||||||
| Parking: | |||||||||||||||||||||||||||||||
| Shuttle: | |||||||||||||||||||||||||||||||
| Condition Reports: | 14 Sep 2022
"From SCE:. SCE will be making releases to Stevenson Creek again starting tomorrow, 9/14. These releases may continue to the end of September but s |
||||||||||||||||||||||||||||||
| Best season: | Jul-Oct (avg for this region)
|
||||||||||||||||||||||||||||||
| Regions: | |||||||||||||||||||||||||||||||
Introduction
Short in distance but not in difficulty, this is one of the most technical canyons in California and DEFINITELY NOT for beginners. Flow is dam controlled to approximately 5 CFS, unless releasing, which makes this canyon a blast even late in the season. But dropping into the narrow section at high flow will most likely result in a rescue/recovery.
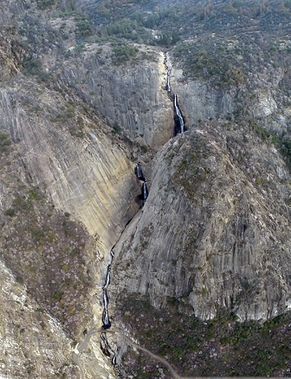
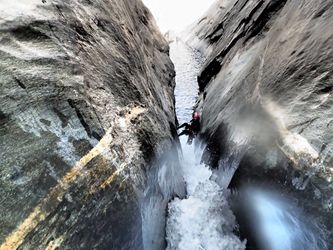
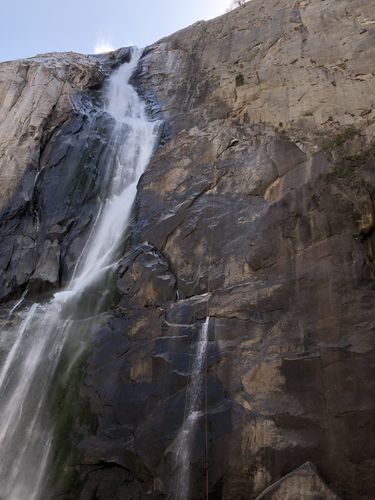
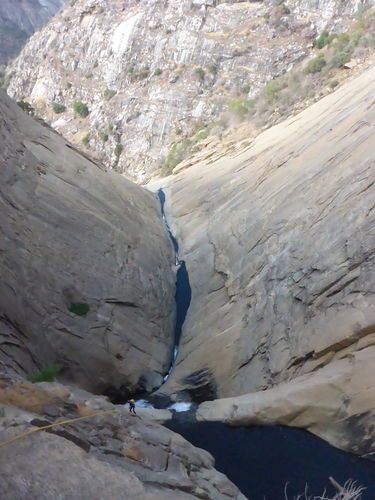
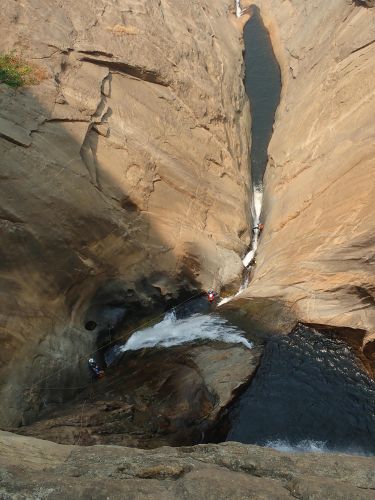
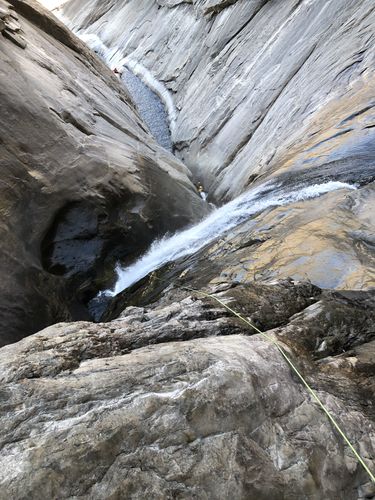
There is a big 600' multi-pitch headwall at the start of this route. The "R" rating comes from the section following the headwall rap where the water is funneled into a narrow hallway requiring a high stem, approx. 10' above the water and 30 horizontal feet long. Just before the stemming is a short narrow section where the canyon dog-legs hard to canyon left. In high flow this narrow section, with nowhere to escape, could warrant an "X" rating.
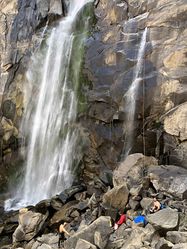
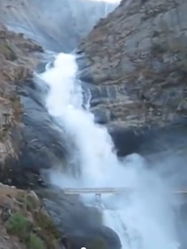
The flow in the river is controlled by the dam at Shaver Lake. The release into the creek from Shaver Lake is reported as station SCE:131 / USGS 11241500, SCE in cfs SCE provides this flow information, so the info is provided at the SCE site first. There are small tributaries that can add water between the gauge and this section. During rain storms and wet seasons, the flow at the canyon will be somewhat higher than shown by the gauge. Note that SE:131 is measured in feet stage and the USGS 11241500 is measured in cfs. Reference pictures of the normal flow at the top of the headwall are provided below, if you see significantly higher flow abort the descent. You may still be able to do the Stevenson Creek (Middle), which can be a blast in high water.
Based on historical data, waterflow was:
- 14 Sep 2014: Moderate: 4.4 cfs
- 16 Aug 2015: Moderate-High: 5 cfs
- 20 Aug 2016: Moderate-Low: 3.7 cfs
- 14 Sep 2019: High: 6.5 cfs
- 15 Aug 2010: Extreme Plus: 308 cfs
Approach
The lower section of Stevenson is usually done with a vehicle shuttle, although you can also do it without by hiking back up to the top via a dirt road. To leave a vehicle for the shuttle, from the camping/drop-in spot for the Stevenson Creek (Middle) trip you will continue driving on 8S08 to the W-SW, turning right onto Jose Basin Road, then a hard right onto Italian Bar Road. Park your shuttle vehicle at the intersection of Italian Bar Road and Million Dollar Road, just SE of Edison Powerhouse #3. There is ample room for 2 vehicles on the right shoulder just outside of the locked gate for Million Dollar Road at UTM: 11S 288555.02 E 4113006.47 N Million Dollar Road is closed to vehicle traffic but hiking on it is allowed.
If combining Middle and Lower, refer to Stevenson Creek (Middle) for navigational information on how to get to the drop-in of this route.
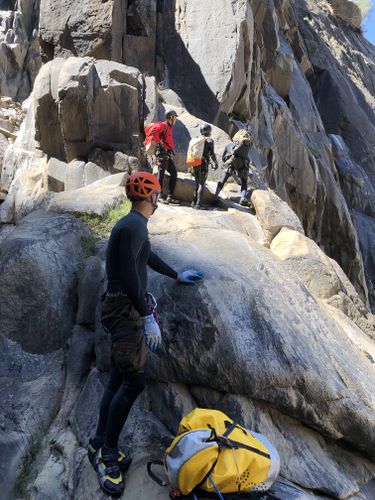
For a shorter day that hits the best (and most technically challenging) parts of the canyon, park at the gate on a dirt road intersecting Old Railroad Grade Road at (37.157191, -119.357750). {Forest Service Road 8S08C} From the Gate, hike the dirt road for approximately a mile, dropping 700' of elevation to the water course. The approach should take about 20 minutes.
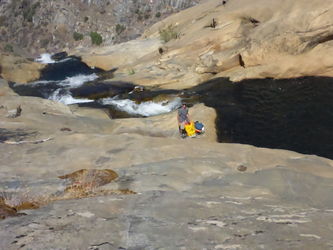
Once you reach the water course, follow the river on the left bank until the canyon narrows and funnels into a series of potholes and finally drops off into the abyss.
Descent
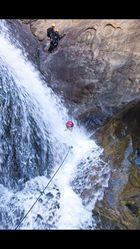
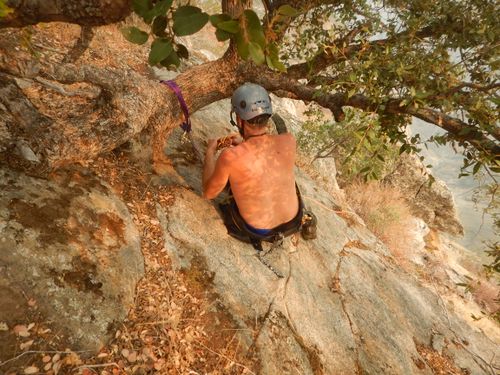
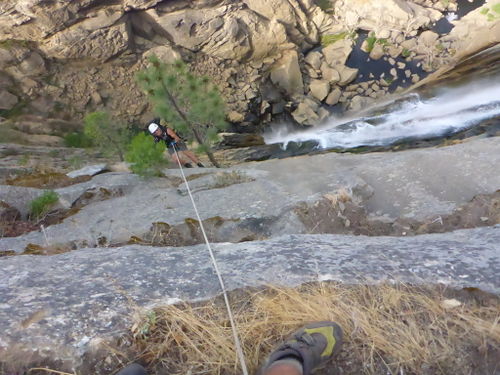
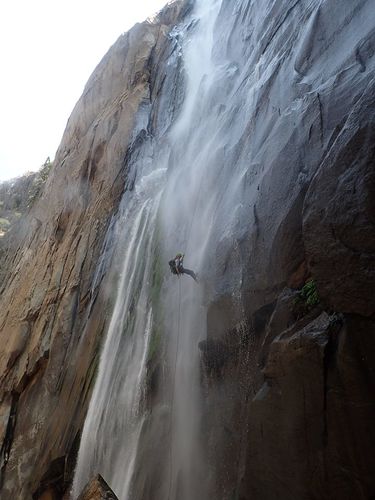
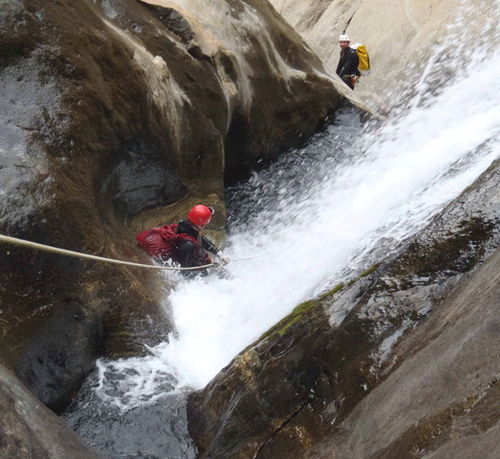
From the water course, climb up the slabs on canyon left to a stout tree. From here, a 4 stage rappel rapidly drops you down deep into the canyon.
- R1: ~100' off a tree to a small ledge
- R2: ~150' off a pair of bolts to a small ledge but that can fit up to 5 people. NOTE: There is an intermediate station on a tiny ledge on top of a partially disconnected flake, it is likely preferable everyone skip this anchor, except for the last person as the flake could catch the rope upon pulling it, although no one has ever reported catching a rope on this flake.
- R3: ~170' off a pair of bolts to a large ledge. The ledge system is to the left (looking down canyon) from the natural fall line of this rappel. Use a lone tree growing on the wall to redirect off the watercourse, especially if you descend the canyon at higher flows. Rope pull is OK around the tree because the base is smooth and rounded.
- R4: ~200' off a pair of bolts to the ultra slimy and slippery boulders at the bottom. A 200' rope just makes the boulder more DCL. If you rappel a bit DCR you may run out of rope before touchdown. There is a pair of heavily rusted bolts on the left edge of the ledge system where it forms a gully, and a better (less rusted) pair of bolts at the center of the ledge.
During high flows, wetsuits and/or rain jackets will be critical for the headwall section, as you will be constantly exposed to the spray. In lower flows, wetsuits may be better left off until you're above R6, but you may want a rain jacket for R4.
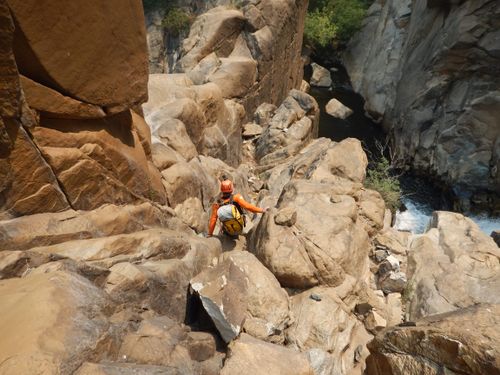
After the 600' headwall it is possible to escape the canyon by climbing up the gully on canyon left. Otherwise, climb down the boulders all the way to the left canyon wall and you find the bolts at the top of R5
- R5: ~25', a short rappel that provides access to a second 400' headwall and a spectacular view of the rest of the canyon and the dreadful crack traverses that await you. This will be your last chance to bail, so before you pull down from R5 make sure everyone in your party is comfortable continuing down canyon.
- R6: ~125' to a hanging pool off of bolts on canyon left. The bolts are on the huge fin, up left from the saddle, way above the pool below.
- R6alt: ~100' from bolts LDC on the pour-over slab of the pool below the huge fin (mentioned above). NOTE: as of 2022 this pool and the next pool down are silted up.
- R7: ~130' to slab ledge with a large jumpable pothole DCR; use R8alt anchor here, or stay on rope to rappel an additional 50' LDC to the V trough gully to R8 or straight down another 30 feet (200 total) to the bottom of the V trough gully at the base of the large slab waterfall and stage there. By rappelling all the way to the base of the large slab waterfall, you skip R8 or R8alt.
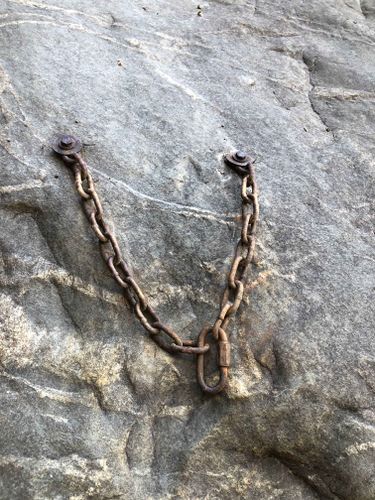
- R8: ~30' From hanging position (bolts with chains) to down a V trough gully to a long shallow pothole under the main falls, through some white water, drop down into another wide pothole (on rope, or jump into it as close as possible to the pour-over DCR as it's barely deep enough in that one spot and has rock a few feet down everywhere else), around the dogleg and to the silo and hallway. This anchor can be used to set a 100' handline that will reach the silo just before the big stem. Also, 30' below R8 at the DCL base of the large slab waterfall, party members can stage there, but they cannot see what is going on beyond the waterfall.
- R8alt: ~100 feet down the steep slab, through the large slab waterfall base, and down the first into the 1st pothole before the silo. R8 alternate provide a large staging area for the whole party, whereas R8 is cramped for 2 people. With a 20 foot safety tether, any member can see all the stemming sections and the pool beyond. This can be useful with a large group or when members need to reduce water expose time (cooler day, no Sun, not thick enough wetsuit). The "end" of this rappel can be confusing to decipher. The pothole before the silo has an 6' drop into a pothole with rocks 3-4 down, except Staying on rope or partner assisting is suggested here.
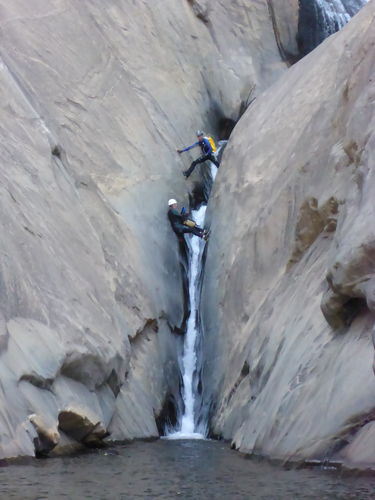
You now are at the crux of route. A 4' wide silo can be defeated by the skilled by doing a full body stem, but will likely require sliding down into the silo at varying levels of control depending on the height and skill of the individual. The water is about 2' deep, and a large jagged rock in the center of this silo a foot underwater makes the landing potentially punishing. Good partner assist skills can be useful, as is a tall party member. This silo can also be chimney'ed across by using the thickness of a large backpack to add length from feet to your back. Packs can be tossed into the corridor below, relieving the need for carrying heavy packs through this strenuous section. Make sure someone is at the pool below to receive the packs, or your rope bags may continue descending the canyon without you. Caution: in high flow a thrown bag may end up in a recirculating hydraulic at the bottom of the stem and be difficult/impossible to retrieve. SAFETY TIPS: If you accidentally fall in the crack it may have very serious consequences, your feet might get trapped and the strong current will push you forward, inverting you and pushing your head underwater. If you were to fall in, make sure to keep your head, feet and arms up and away from the crack. Getting on rappel to do the hallway stemming traverse (deep crack section) is not recommended, but you may use a rope as a handline or have someone at the top be ready to throw you a rope to grab on and regain verticality.
Swim through the corridor (long exit pool) and marvel at the immense scale and dramatic landscape.
Exit the pool (after the crux stemming section) DCL and regroup for the another crack section. Those skilled at stemming will find the bottom section easier to negotiate by down climbing. Others may want to rappel which may present a swift-water hazard in higher flows, and there does not seem to be any R9 anchor anymore so you would have to build an anchor anyway. This crack section can also be done as a slide with enough flow, but be careful to keep your pelvis bones above the sides. Damming up the water will help and or riding your pack down the shallow V shape crack.
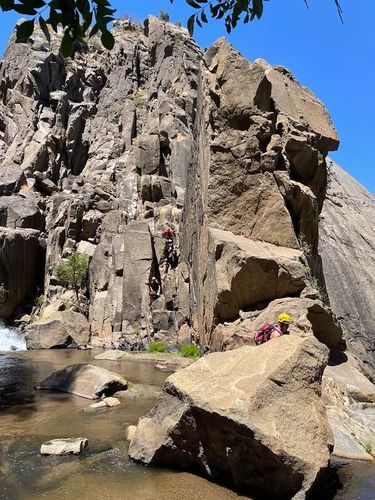
From here the final rappel sequence will deposit you onto the bridge of Million Dollar Road.
- R10: 70' off bolts on canyon left. The first half of this rappel lands in a pool where you can opt to skip rappelling the second half by stemming over the flow to the pool below. The swift water pool at the end would be a serious problem if it was a swimmer, but a rock platform provides safe standing ground. The actual total length of the rappel to the pool is 70' but you may want 200' to stay safely on rope while crossing the edge of the cliff to access a drillbit+bolt anchor on canyon right.
*PLEASE READ* If you stem the second half of the R10 there is the possibility of slipping into the flow. The stem proves almost impossible in higher flow. It would appear that falling into the flow would be innocuous, but there are rocks jutting out on the left-hand side underwater. In 2019 there was an unreported broken leg from this slide. The author of these words can attest that it would at the bare minimum cause a sore hip/thigh.
- R11: 150' off a drill bit+bolt DCR down to a pool with an obvious ledge.
Take a few minutes to sign the register, an ammo box just UCR of the R12 anchor.
- R12: 150' from an anchor DCR high up at the base of a boulder
- R13: 150' from 2 bolts in a hanging pothole DCR which takes back into the watercourse to drop down into the pool below (bolts added 11 Aug 2015)
Exit
You will exit at the Million Dollar Road bridge crossing Stevenson Creek, (11S 290884.31 E 4116242.04 N) turn canyon left (S-SW)onto M.D. Road and walk the approx. 3.5 miles back to your shuttle vehicle. If you don't have a second vehicle, you can use an alternate exit climbing up a dirt road that will take you back to your vehicle at the start of the canyon.
Red tape
Canyon is inside burn area of 2020 Creek Fire. Expect impacts to road, canyon, and surrounding area. Before going, review any relevant Sierra NF alerts and closure orders. See also Sierra NF road conditions.
Beta sites
Trip reports and media
Background
Paul Martzen and Bill Murphy started climbing in this canyon around 1985 or 86. From the bridge they climbed to the right of the waterfalls (looking upstream). Harder lines closer to the water, pretty easy out a ways. A number of difficult lines had been climbed on the west wall (east facing) above the traverse crevice sections. Paul saw signs of earlier climbers but no obvious signs of routes down the canyon.
Paul Martzen, John Barbella and Bill Murphy made a descent in 2000, putting in the anchors on DCL of the upper headwall and down to R7,the last rap into the traverse crevices, but they had not brought wetsuits and it was late in the day. Instead of retreating up, they traversed across to DCR and pendulum rappelled the lower angle wall on DCR down to the drill bit and bolt rappel. The lowest two raps were from trees DCR and it was pitch black by the time they were there.
Sati, Melody and friends attempted a first descent of this canyon, which they named 'Why the long face', back in 2007. They descended the 600 feet headwall, using potholes up high then rappelling DCR of the waterfall. They aborted after that, as they were running out of time. Their escape was up the DCR gulley through very thick poison oak. See a video of it.
This however inspired Paul to return in 2008 with Randy Kanta, Jerry Sickler, and Dave Scott. They rapped to the base of the upper headwall then realized they forgot the drill bits and had to abort. They retreated up the DCL gulley. Paul, Randy, Jerry and Gary Eggert finally completed a full descent, including the middle slots in 2012 after several years of high flows.
